Detect Hidden Roof Leaks In Attic
This article shows how to detect hidden roof leaks in attic spaces before they spread. It lists signs to look for and inspection methods you can use. Call National Roofing Services at 303-555-7788 to schedule a professional attic check. Early detection prevents structural damage.
Hidden roof leaks in attic areas can begin as tiny, almost invisible problems and grow into expensive structural issues if ignored. This guide explains practical ways to detect hidden roof leaks in attic spaces before they spread, emphasizing what to look for, how to inspect safely, and when a professional evaluation is warranted. If you prefer an expert assessment, National Roofing Services can help - call 303-555-7788 to arrange an attic check today.
Why finding attic leaks early matters
Roof leaks often start small and remain out of sight for weeks or months. Moisture trapped in attics leads to rot, mold growth, and weakened framing members long before stains appear on ceilings below. Early detection preserves the value and safety of your home and reduces repair costs by addressing problems while they are still localized rather than widespread.
Beyond structural damage, water infiltration degrades insulation performance, increasing energy bills and reducing year-round comfort. Mold and mildew are also health concerns; their spores can migrate into living spaces and aggravate allergies or respiratory issues. Detecting a problem in the attic before it reaches interior rooms protects both your property and your family's health.
Common signs that indicate a hidden attic leak
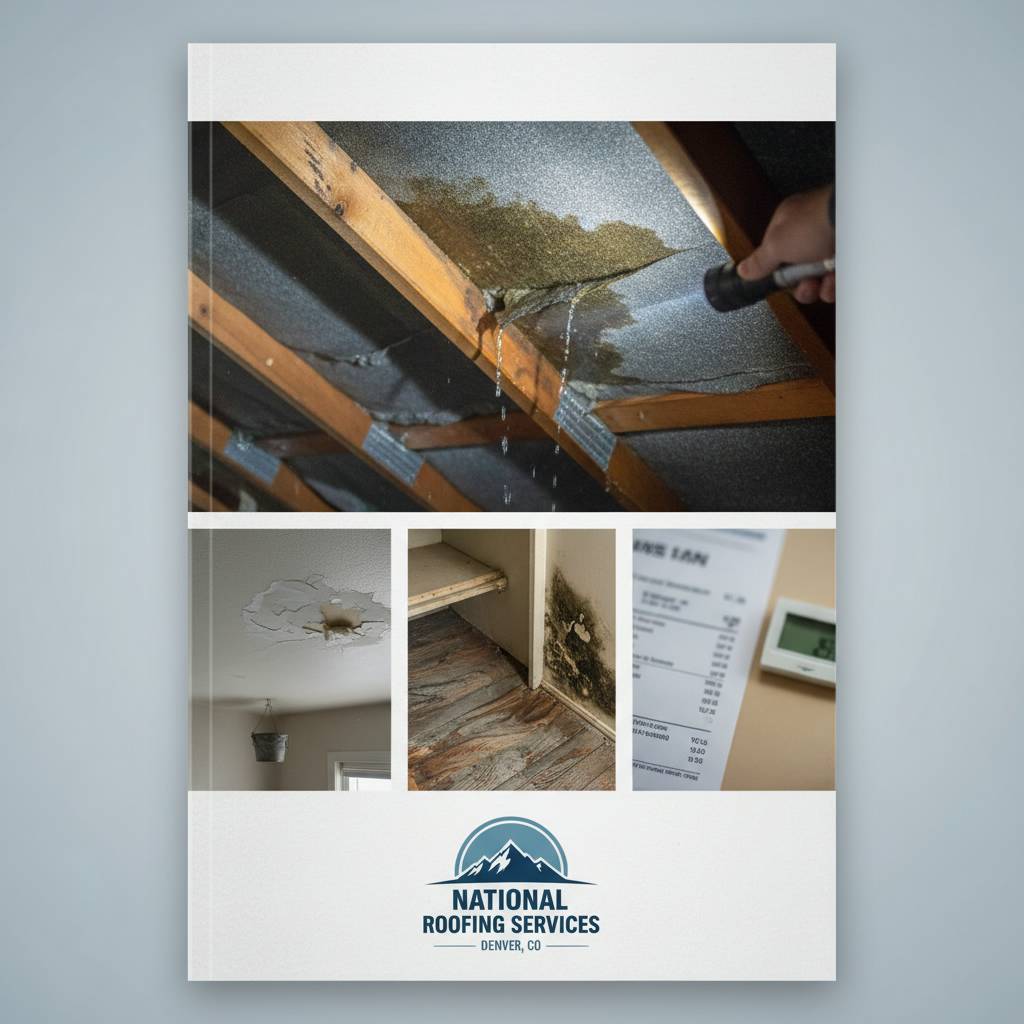 Knowing the typical clues that indicate moisture in an attic helps you decide whether to inspect further or call a pro. Visual and tactile indicators are often the first evidence of hidden roof leaks: dark stains on roofing components, sagging areas in the roof deck, or damp insulation are all warning signs. Sometimes the problem will manifest only under certain weather conditions, so consider timing inspections after storms.
- Discolored or damp insulation that looks matted or darker than surrounding material
- Stains, streaks, or white mineral deposits on rafters, sheathing, or ceiling joists
- Musty or mildew odors that become stronger when it rains
- Peeling paint, bubbling drywall, or ceiling stains in rooms beneath the attic
- Drips, active water stains, or evidence of past water lines on wood framing
Keep in mind that not every stain or odor means a roof leak; plumbing, HVAC condensation, and poor ventilation can produce similar signs. However, when several indicators coincide-such as damp insulation plus a distinct water stain-prioritize a focused attic inspection to determine whether the roof is the source.
How to inspect an attic safely and effectively
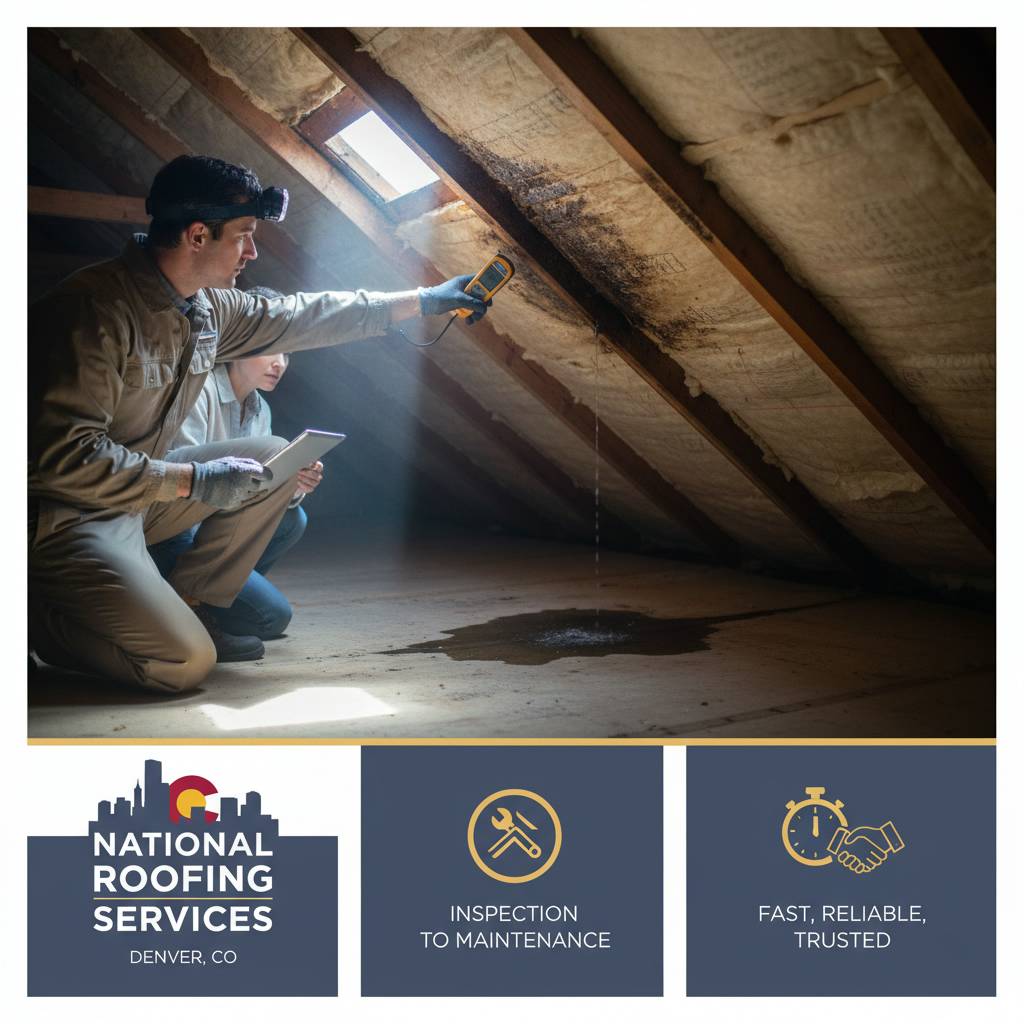
Safety comes first: always wear a dust mask, gloves, eye protection, and sturdy footwear before entering an attic. Bring a reliable flashlight or headlamp and a phone or two-way radio in case you need assistance. Before stepping into an attic, make sure you know where the joists and ceiling supports are so you can avoid falling through the ceiling. Move slowly and deliberately while checking suspected areas.
Start inspections during daylight and right after or during light rain if possible-this improves the chance of seeing active leaks. Work systematically from the attic access outward, checking roof sheathing, rafters, roof vents, chimneys, flashings, and areas near roof penetrations. Look for wetness, darkening of wood, salt-like mineral deposits (efflorescence), and any signs of insects or rot that often accompany moisture problems.
Step-by-step attic inspection checklist
- Illuminate the space and scan the entire attic from the access point to the far corners.
- Inspect insulation for damp spots and compressions; feel suspicious areas for moisture where safe to do so.
- Examine roof sheathing and rafters for staining, warping, or mold growth along seams and fasteners.
- Check around plumbing vents, exhaust fan penetrations, chimneys, and skylights for evidence of failed flashing.
- Look for light penetrating into the attic; small holes often indicate entry points for water as well.
Tools and techniques that improve leak detection accuracy
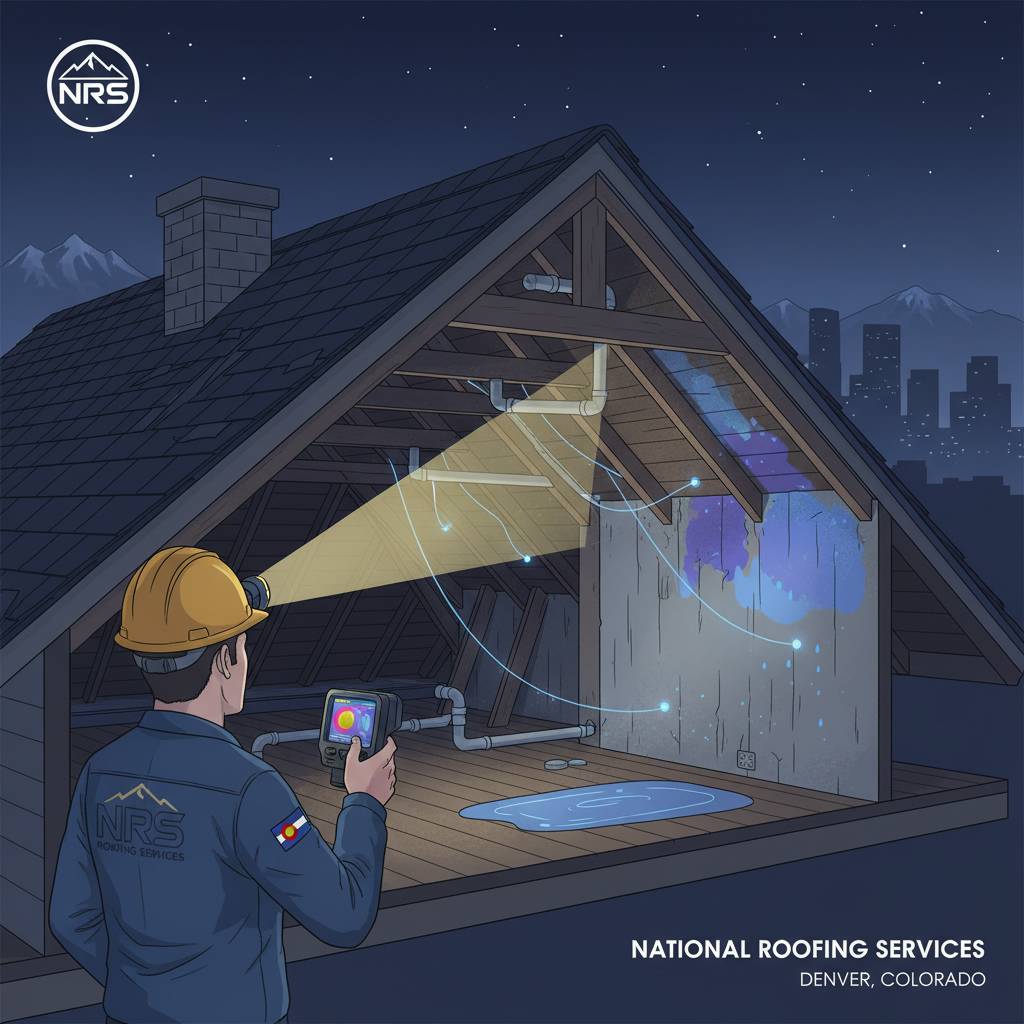
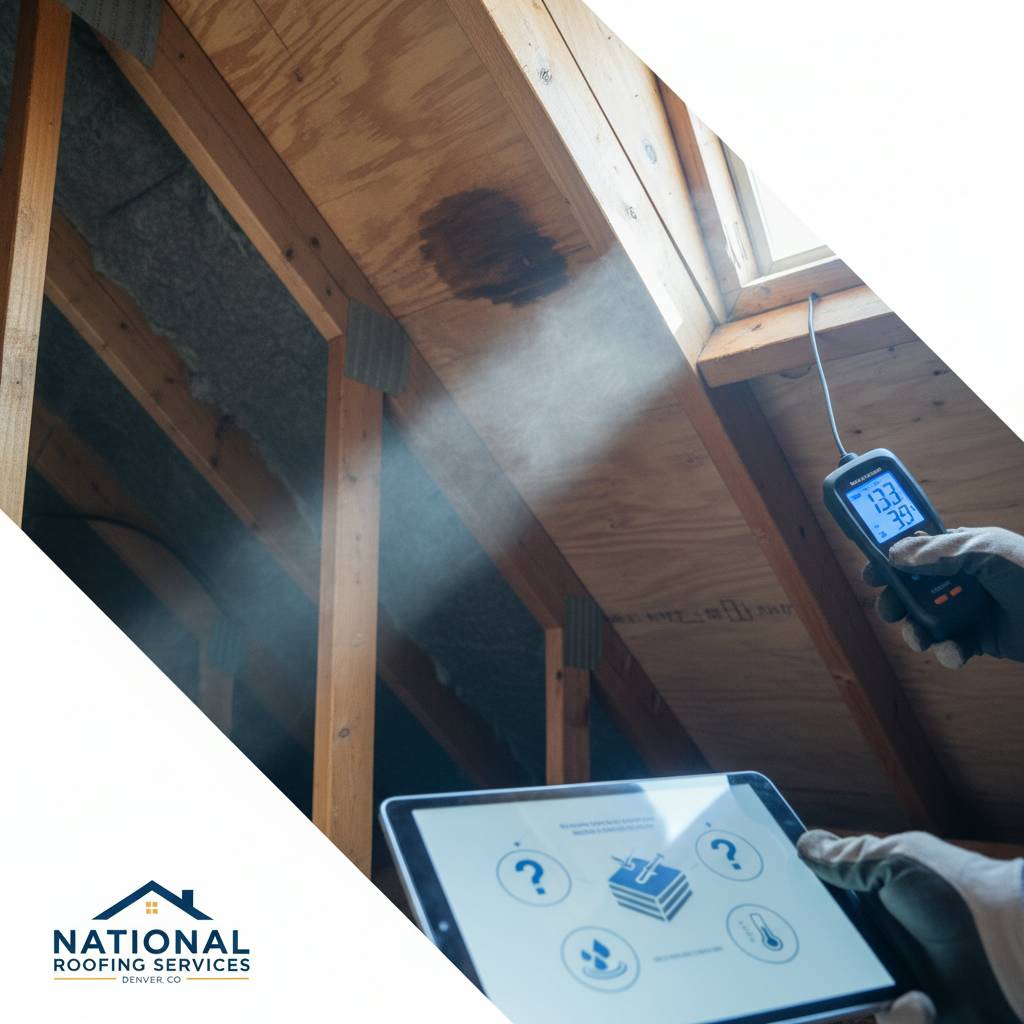
 While a flashlight and good eyes are useful, a few inexpensive tools can dramatically improve your ability to detect hidden roof leaks in attic spaces. A moisture meter quickly tells you whether a material is holding more moisture than it should; infrared or thermal imaging cameras help locate cold, wet areas that differ from surrounding surfaces; and a simple inspection mirror reveals hidden corners behind ductwork or chases. Use tools judiciously to confirm visual findings and reduce guesswork.
Practical detection tools
- Pin or pinless moisture meter: gives quantitative moisture readings for wood, insulation, and sheathing.
- Infrared (thermal) camera or smartphone attachment: identifies temperature anomalies associated with moisture.
- Flashlight or headlamp with a bright, focused beam to reveal stains and subtle discolorations.
- Small mirror and a telescoping stick to inspect tight spaces without disturbing insulation.
- Camera or phone to document conditions for later comparison and to show professionals if needed.
| Method | Best for | Limitations |
|---|---|---|
| Visual inspection | Initial assessment and identifying obvious stains or active drips | May miss early or concealed moisture; depends on inspector experience |
| Moisture meter | Quantifying dampness in wood, insulation, or drywall | Pin meters damage surface slightly; readings affected by temperature and material type |
| Infrared imaging | Locating cold, wet spots and mapping moisture spread | Interprets surface temperature differences, which can be influenced by sun, wind, and HVAC |
Combining methods provides the best results: use visual cues to target the search, moisture meters to confirm wetness, and infrared imaging to track the extent of wet areas. Professionals often use all three approaches together when a roof leak is suspected but not obvious.
Where leaks commonly originate in attic spaces
 Understanding typical leak sources helps you focus inspections and interpret findings accurately. Common leak origins include failed flashing at chimneys and skylights, deteriorated shingles at valleys and ridges, cracked vent collars, and fastener penetrations. Attics often reveal the secondary effects of these failures-wet insulation or staining on rafters-before the ceiling below shows visible damage.
Chimneys and roof penetrations are especially prone to leaks because flashing must accommodate movement and seal multiple intersecting materials. Skylights and plumbing stacks also require trustworthy seals. In older homes, compromised underlayment or layered roofing can allow water to travel laterally under shingles and enter the attic through seams or exposed nail heads.
Attic-specific factors that worsen leaks
- Poor ventilation that traps warm, moist air against cold roof decking, leading to condensation.
- Inadequate insulation or gaps that allow warm indoor air to rise and condense at roof surfaces.
- Poor attic maintenance, such as debris-filled valleys or clogged gutters that cause ponding and backflow.
- Improperly installed or aged flashing around chimneys, vents, and skylights.
Temporary fixes versus long-term repairs
 When you detect a leak, temporary measures can stop active water entry and limit damage until permanent repairs are made. Placing a tarp over the affected roof area, temporarily sealing small gaps around vents with roofing cement, or moving saturated insulation to a dry location are sensible short-term responses. These actions buy you time but are not substitutes for proper long-term solutions.
Permanent repairs usually require replacing damaged flashing, patching or replacing roofing materials, addressing underlayment failures, and restoring any compromised structural components. If the attic shows signs of mold or wood rot, remediation and possibly structural reinforcement will be part of the scope. Document the condition before work begins to ensure repair quality and to assist with any insurance claims.
When to call a professional
 Some situations clearly call for professional help: active leaks that are large or near electrical components, structural sagging, widespread mold, or when you cannot locate the leak source after a reasonable inspection. Certified roofing contractors and building envelope specialists have the experience and equipment-like commercial thermal imaging, moisture mapping, and safe roof access-to diagnose and repair complex leaks safely and permanently.
If you prefer a definitive inspection, National Roofing Services offers professional attic leak detection and repair coordination. An expert can provide a prioritized list of necessary repairs, an estimate, and guidance about whether insurance may cover damage. Contact National Roofing Services at 303-555-7788 to schedule a comprehensive attic assessment that reduces the risk of ongoing damage and protects your home investment.
Frequently asked questions (FAQ)
How can I tell the difference between condensation and a roof leak?
Condensation tends to be widespread and associated with poor ventilation or temperature differentials; it often appears as a general dampness or frost on cold surfaces during certain seasons. A roof leak is more likely to produce localized staining, drips, or moisture that follows seams and fasteners. A moisture meter and observing conditions during and after rainfall will help distinguish them.
Is it safe to enter an attic if I suspect mold?
Small amounts of mold can be inspected safely with protective equipment, but extensive mold growth or visible signs of severe rot warrant professional remediation. Exposure without protective gear can aggravate health problems. When in doubt, have National Roofing Services or a mold remediation specialist assess the situation before prolonged entry.
How often should I inspect my attic for leaks?
Inspect your attic at least twice a year-after winter and after the rainy season-and again after major storm events or high winds. Regular checks increase the chance of catching leaks early and allow you to track minor issues before they escalate. Also perform an inspection if you notice a sudden change in energy bills or indoor humidity.
Final thoughts and action steps
 Detecting hidden roof leaks in attic spaces requires a combination of careful observation, basic tools, and methodical inspection routines. Prioritize safety and document findings with photos and notes. If you discover any signs of moisture, use temporary measures to limit damage and then schedule a full assessment to determine permanent repairs. Early detection is your most effective way to avoid costly structural and indoor air-quality problems.
For homeowners who want certainty and a professional touch, National Roofing Services is ready to perform a thorough attic inspection and advise on repairs or remediation. Call 303-555-7788 to book a professional attic check and take the first step toward protecting your home.
Concerned about a suspected leak now? Contact National Roofing Services at 303-555-7788 for prompt assistance. Our team will help locate the source and recommend the most effective repairs to prevent further damage.